> For the complete documentation index, see [llms.txt](https://docs.vega365.com/llms.txt). Markdown versions of documentation pages are available by appending `.md` to page URLs; this page is available as [Markdown](https://docs.vega365.com/redundancy-management-framework/user-manual/configuration-dashboard/add.md).
# Add
Automatic Provisioning in active-active setups
## Introduction
The **Add Cameras** option saves you from double-entry work in active-active deployments. When it is enabled (and **Mode = Auto**):
| Operating state | What SmartSync does | When it applies |
| ------------------------------------------- | ------------------------------------------------------------------------------------------------------------------------------------------- | ------------------------------------------------------------------------- |
| **Backup mode** (normal day-to-day) | Any camera added to a **Primary** recorder is auto-created on its linked **Secondary**—same name, channel, and asscociated storage profile. | All Auto-linked pairs, whether 1-to-1 or many-to-few. |
| **Restore mode** (running from the DR site) | A camera added on the **Secondary** is auto-created back on its **Primary**, **but only when that pair is a 1-to-1 link**. | Use this to keep the systems symmetrical while the primary is rebuilding. |
{% hint style="success" %}
**Licensing check:** The copy goes through only if there are free RMF licences available.
{% endhint %}
{% hint style="success" %}
**Visibility reminder:** The **Add Cameras** block is shown **only in Auto mode**. When the system is in **Manual (Map Cameras) mode**, the block is completely hidden, and administrators must add devices separately on each recorder.
{% endhint %}
## Guide
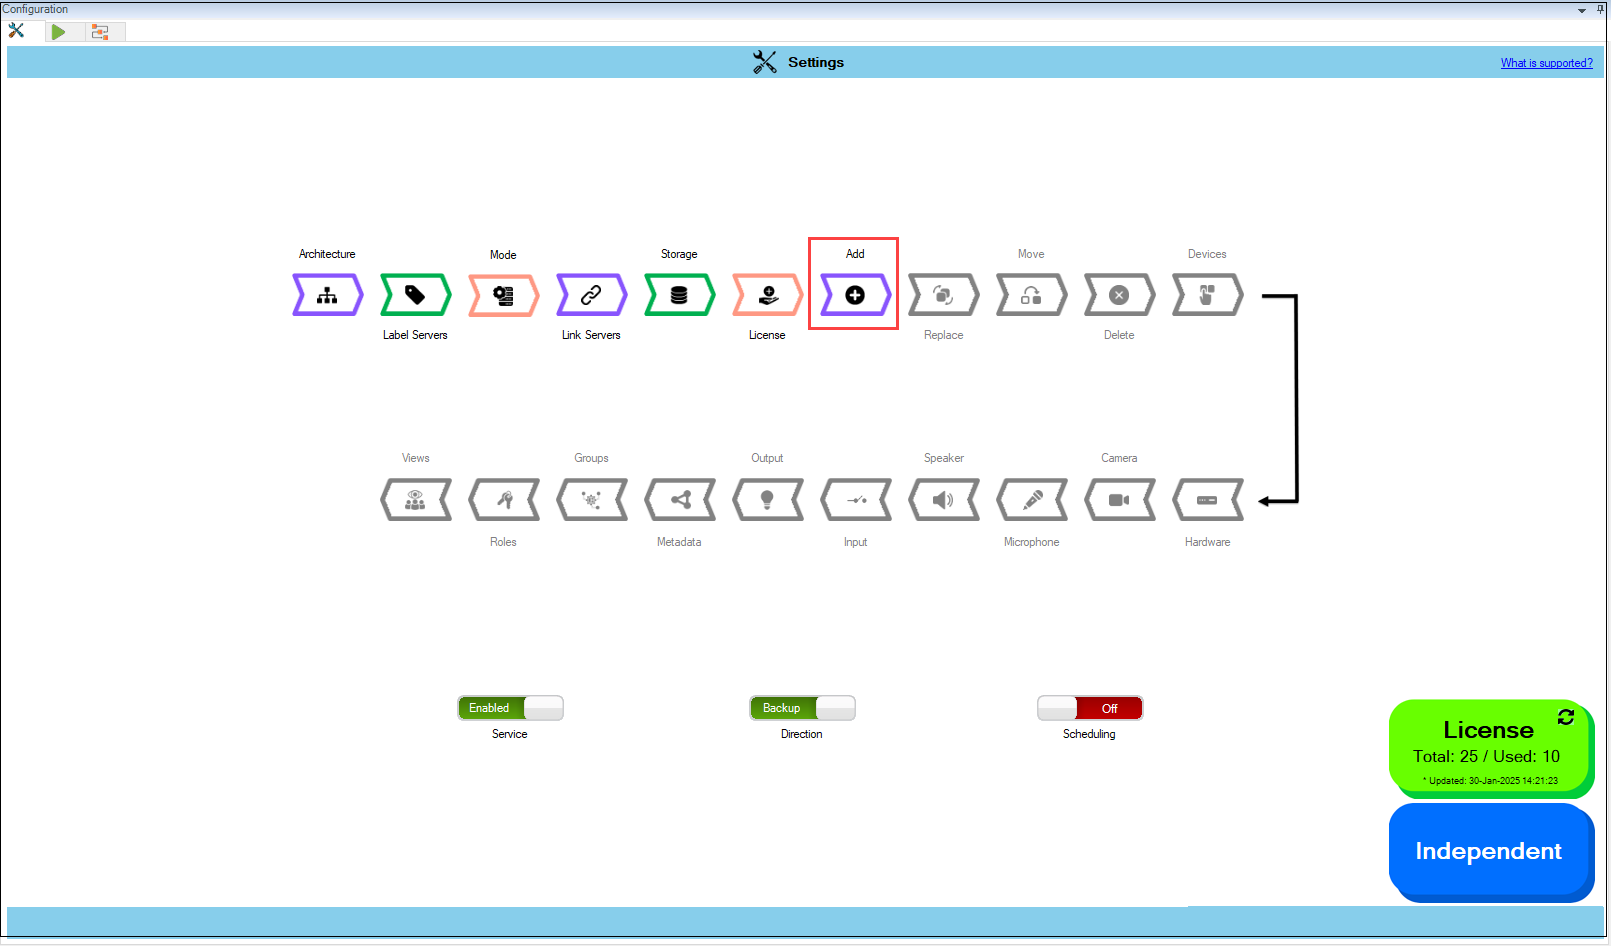
1. Click on **Add**.
Add Option
{% hint style="success" %}
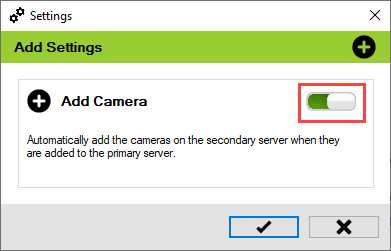
**Step Result:** The **Add Settings** dialog box appears. The Add Camera toggle button is enabled by default.
{% endhint %}
Add Camera
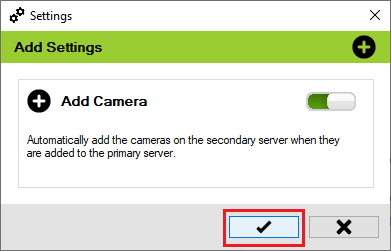
2. Click the **Save** icon.
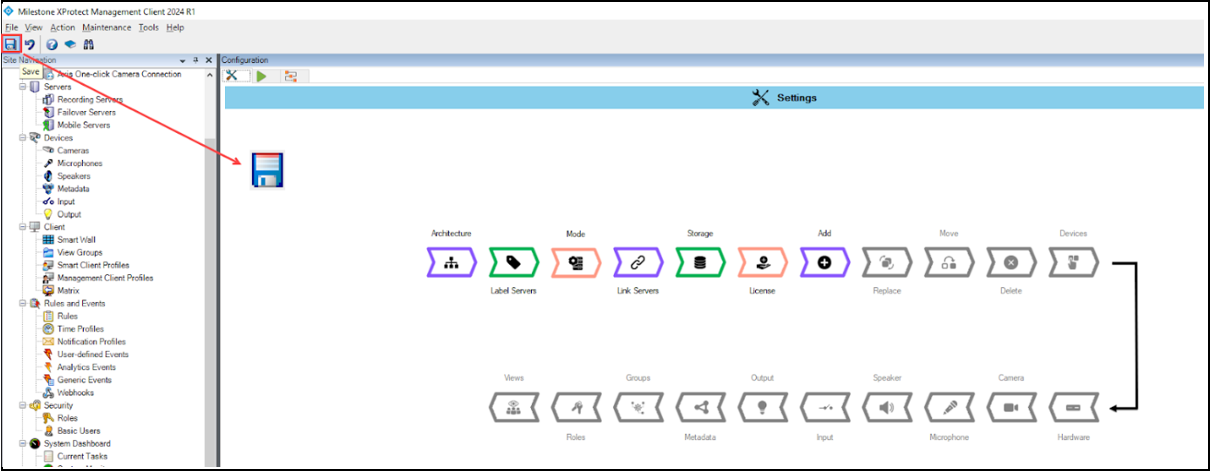
3. Click **Save** in the Milestone toolbar to save your changes.