> For the complete documentation index, see [llms.txt](https://docs.vega365.com/llms.txt). Markdown versions of documentation pages are available by appending `.md` to page URLs; this page is available as [Markdown](https://docs.vega365.com/redundancy-management-framework/user-manual/configuration-dashboard/device-selection.md).

# Device Selection

Select Devices to synchronize properties, groups, roles and views.

## Introduction

Tick ✓ only the cameras you want RMF to keep identical across sites; any camera you leave unchecked is ignored by every downstream block. After this coarse filter, later blocks—**Device Properties, Roles, Views, Device Groups**—provide fine-grained switches for each individual property, allowing you to build an exact, policy-driven sync recipe.

Think of Selective Sync as the “big gate” that decides which devices enter the sync pipeline; the blocks that follow let you fine-tune **what** about those devices stays mirrored, giving you layered, policy-level control over redundancy.

### Practical Use Cases

| **Multi-sensor / multi-stream cameras** | Clone just the core streams to the secondary and keep the extra ones primary-only, staying within the camera’s stream limit without touching later property switches.                                                                                                                                                                              |
| --------------------------------------- | -------------------------------------------------------------------------------------------------------------------------------------------------------------------------------------------------------------------------------------------------------------------------------------------------------------------------------------------------- |
| **Restore Accidental Deletions**        | If a device is mistakenly removed from the primary, tick that device here, while in [Restore Mode](https://docs.vega365.com/redundancy-management-framework/user-manual/configuration-dashboard/set-synchronization-direction/restore-mode.md), and run Sync. RMF pulls its configuration back from the secondary without affecting other devices. |
| **Test / maintenance devices**          | Exclude lab or in-repair devices upfront so they never consume storage or licenses on the DR site, saving you from having to turn off each property one by one later.                                                                                                                                                                              |
| **Temporary event cameras**             | Leave seasonal or event-only devices unsynced so you can stand them down at the primary without any DR clean-up.                                                                                                                                                                                                                                   |

## Scope

The feature is limited to RMF-licensed devices. Unlicensed devices do not appear in this list.

## Operation

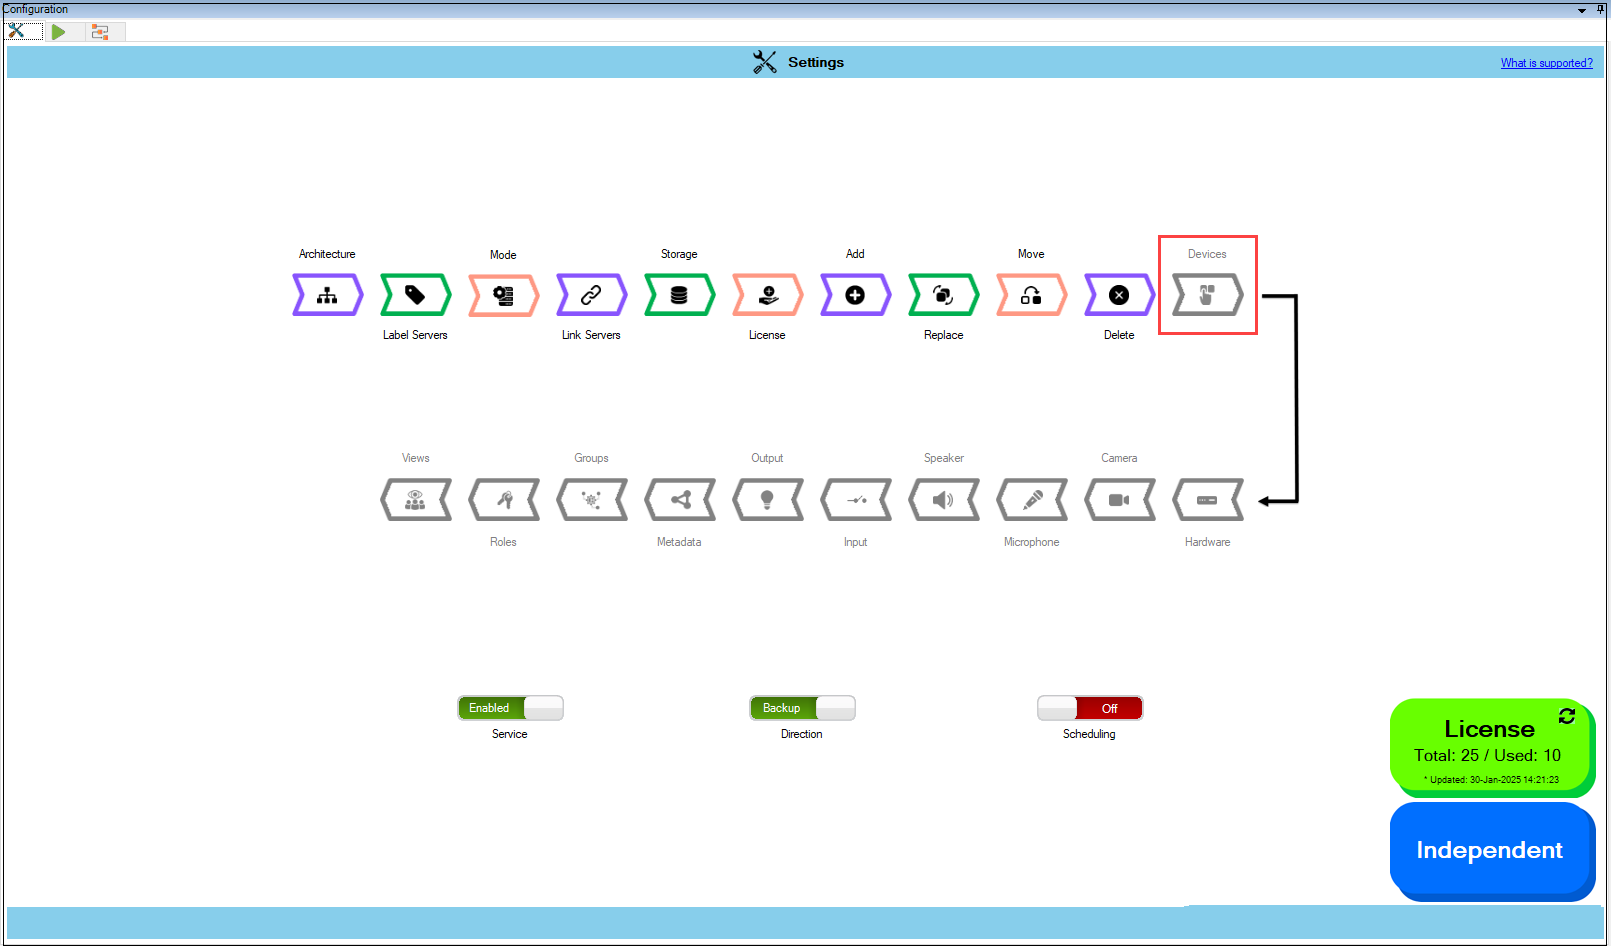
1. &#x20;Click **Devices**.

<figure><img src="https://content.gitbook.com/content/K95oxUATgzuZZ2VhRoDw/blobs/dTG9DyTIDiiToHZ6nzZd/DevicesOption.png" alt=""><figcaption><p>Devices Option</p></figcaption></figure>

{% hint style="success" %}
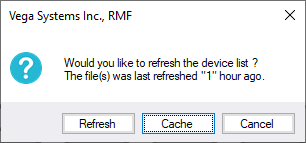
**Step Result:** The confirmatory dialog box appears. Select **'Refresh' to log in and retrieve the latest device list, or choose 'Cache'** to continue configuration with the previously fetched device list. The **Cache** option saves time at large installations by using information stored from previous fetch cycles.
{% endhint %}

<figure><img src="https://content.gitbook.com/content/K95oxUATgzuZZ2VhRoDw/blobs/aqit2bmU3BN4L06dNX4x/cache.png" alt=""><figcaption><p>Refresh/Cache Option</p></figcaption></figure>

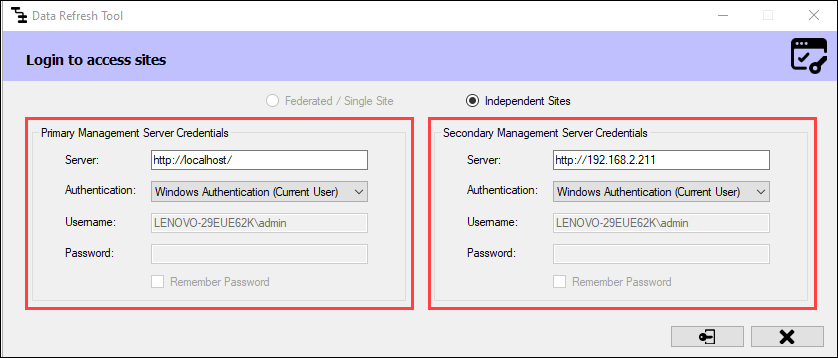
a. The following screen appears if Refresh is chosen while in independent architecture.

<figure><img src="https://content.gitbook.com/content/K95oxUATgzuZZ2VhRoDw/blobs/jXUhB78MwPs2qwz6DJTn/Login.png" alt=""><figcaption><p>Login Screen—Independent</p></figcaption></figure>

{% hint style="info" %}
Remember, to proceed, you must log in as a user with administrator privileges on the Primary and Secondary Milestone Management Servers.
{% endhint %}

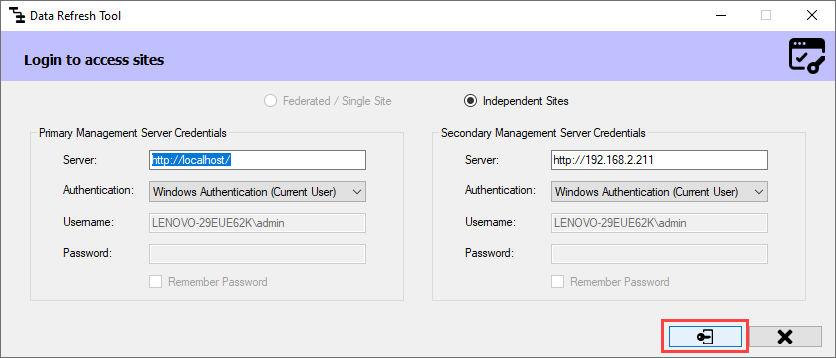
&#x20;Click **Connect** at the bottom right corner of the screen to continue.

<figure><img src="https://content.gitbook.com/content/K95oxUATgzuZZ2VhRoDw/blobs/eq8eiUMGIhZsoM6cDa07/Connect.png" alt=""><figcaption><p>Connect Option—Independent</p></figcaption></figure>

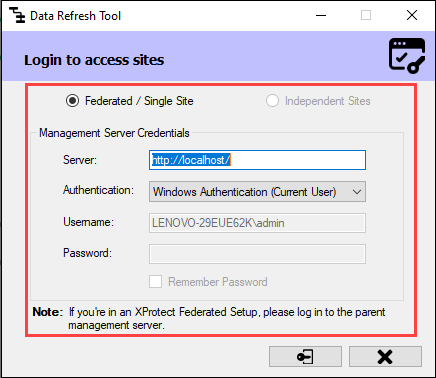
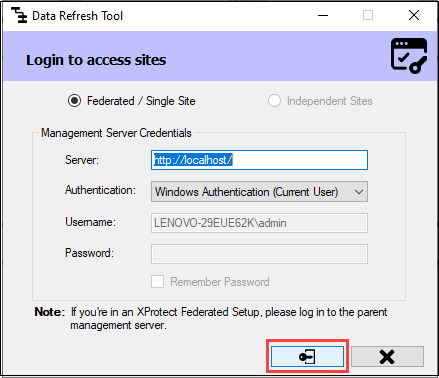
b. The following screen appears if Refresh is chosen in a Federated/Single Site.

<figure><img src="https://content.gitbook.com/content/K95oxUATgzuZZ2VhRoDw/blobs/xEbRdYhAOCHjpMJY2BEe/Login2.png" alt=""><figcaption><p> Login Screen—Federated/Single Site</p></figcaption></figure>

{% hint style="info" %}
**Note:** If your XProtect architecture is **Federated**, log in to the **Parent Management Server**.
{% endhint %}

&#x20;2\. Click **Connect** at the bottom right corner of the screen to continue.<br>

<figure><img src="https://content.gitbook.com/content/K95oxUATgzuZZ2VhRoDw/blobs/CaI8NWMq35D7GuqW7DYb/Connect3.png" alt=""><figcaption><p>Connect Option—Federated/Single Site</p></figcaption></figure>

{% hint style="success" %}
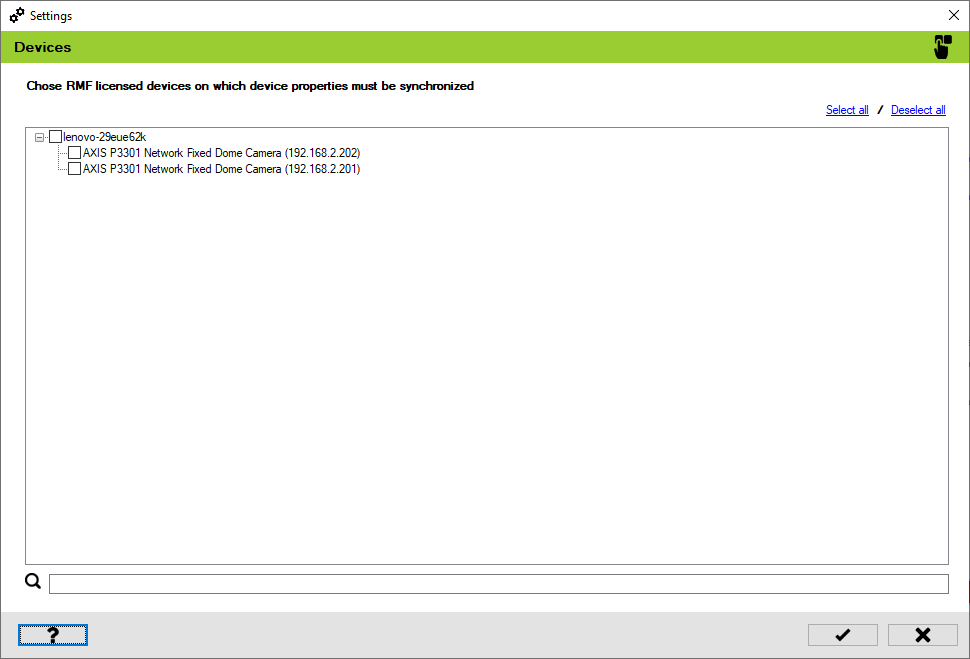
**Step Result:** The Devices screen appears, listing all the RMF-licensed devices. Select the devices whose properties need to be synchronized.
{% endhint %}

<figure><img src="https://content.gitbook.com/content/K95oxUATgzuZZ2VhRoDw/blobs/QNkRgn9RboBb6cfkzPGW/DevicesScreen.png" alt=""><figcaption><p> Devices Screen</p></figcaption></figure>

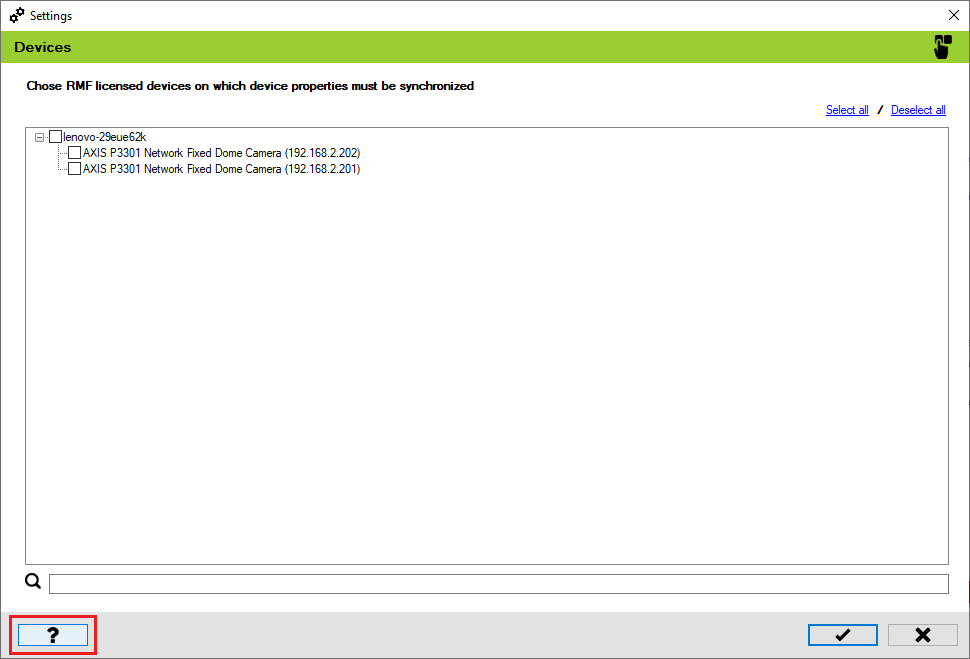
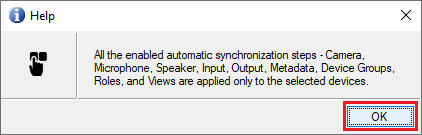
3. Click the **Help** icon to view additional information.

<figure><img src="https://content.gitbook.com/content/K95oxUATgzuZZ2VhRoDw/blobs/MXyvhYrvNHXlmLOq0X9G/Helpicon.png" alt=""><figcaption><p> Help Icon</p></figcaption></figure>

<figure><img src="https://content.gitbook.com/content/K95oxUATgzuZZ2VhRoDw/blobs/DiGnalvHa3BQdHQp04rY/Helpinfo.png" alt=""><figcaption><p>Help Information</p></figcaption></figure>

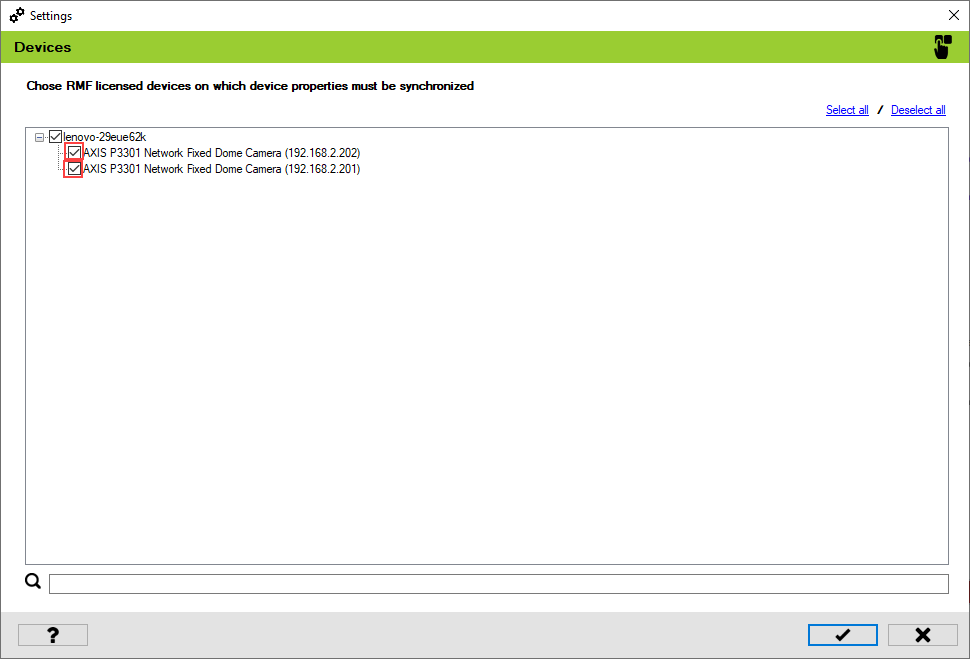
4. Select the devices to synchronize the device properties.

<figure><img src="https://content.gitbook.com/content/K95oxUATgzuZZ2VhRoDw/blobs/Rb2k6g4EoFazZ4nANab2/Deviceselect.png" alt=""><figcaption><p>Device Selection</p></figcaption></figure>

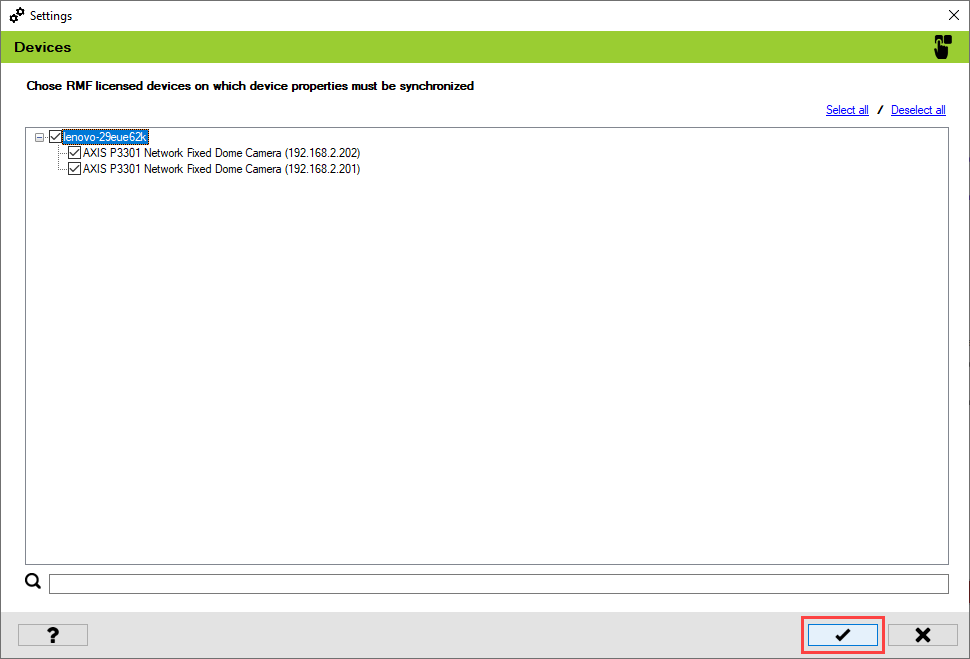
5. Click **Save** to save the changes.

<figure><img src="https://content.gitbook.com/content/K95oxUATgzuZZ2VhRoDw/blobs/7JYv5vgnMWaVPmNcbuPk/Saveicon.png" alt=""><figcaption></figcaption></figure>

{% hint style="success" %}
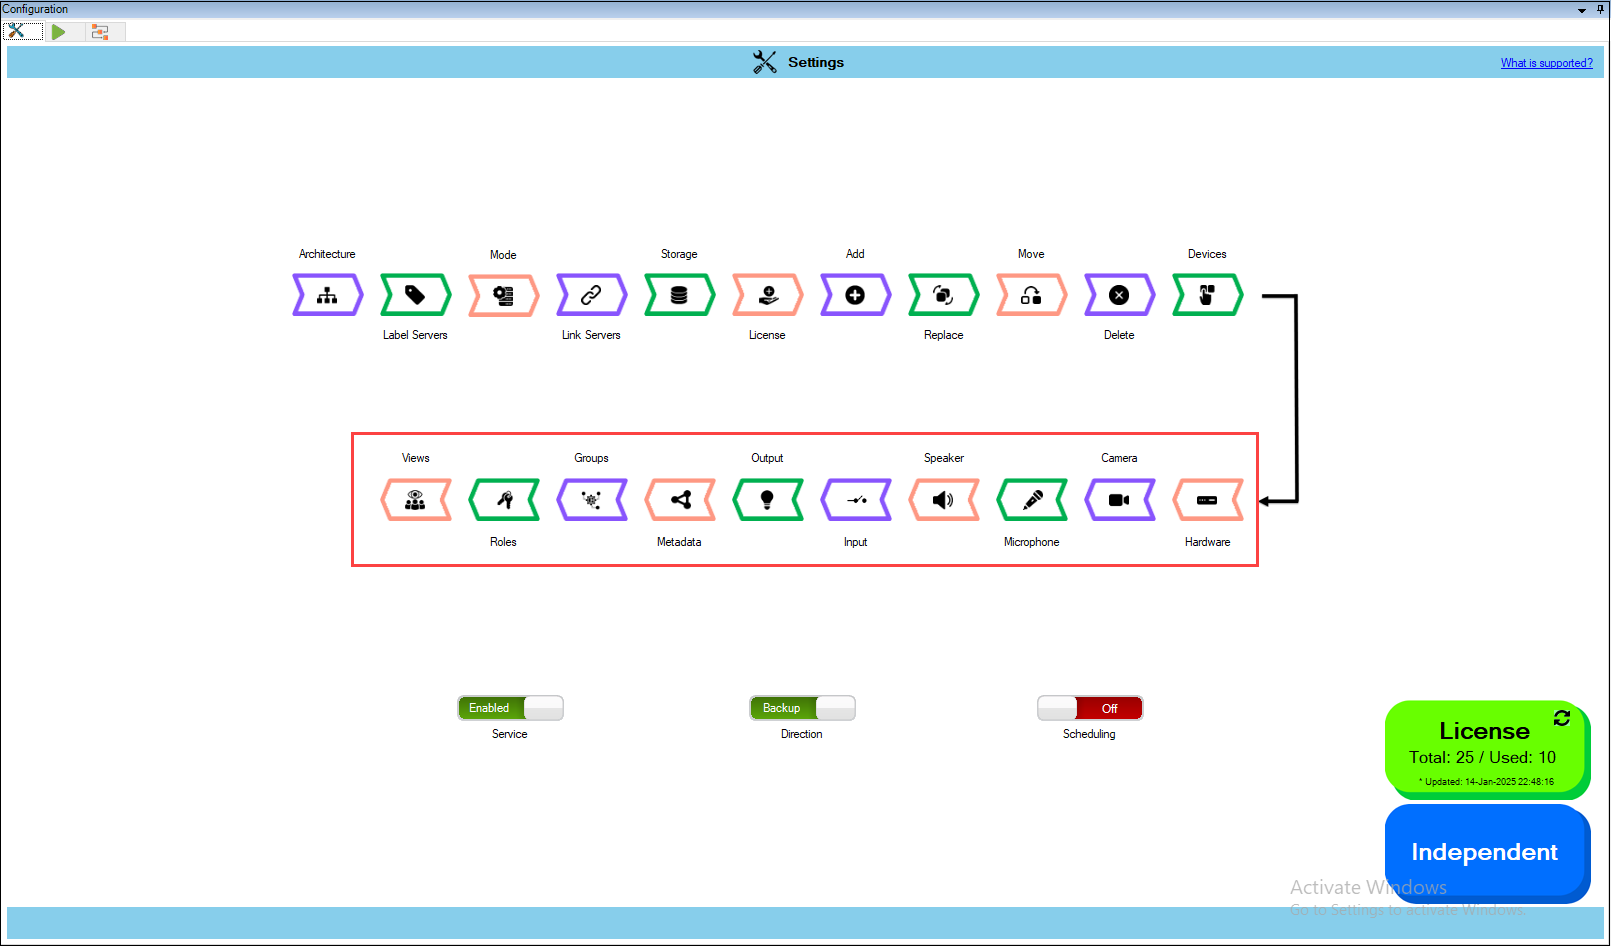
&#x20;**Step Result:** If no devices were selected a priori, selecting at least one device will enable subsequent synchronization filter blocks.
{% endhint %}

<figure><img src="https://content.gitbook.com/content/K95oxUATgzuZZ2VhRoDw/blobs/ff72RnXjGfqb7KgwrsVk/enable.png" alt=""><figcaption><p>Synchronization Filters Enabled</p></figcaption></figure>

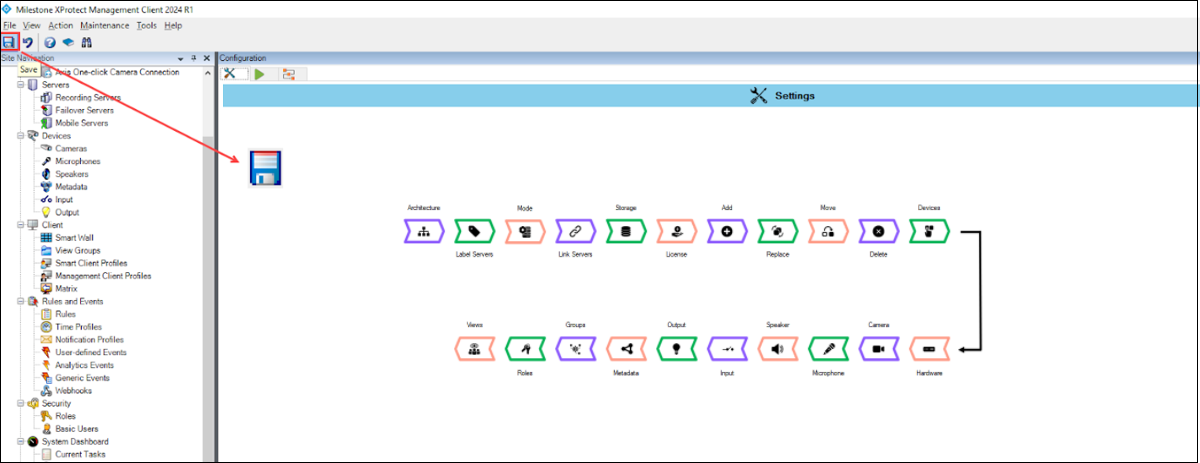
6. Click **Save** in the Milestone toolbar to save the changes.

<figure><img src="https://content.gitbook.com/content/K95oxUATgzuZZ2VhRoDw/blobs/ZOOgX5UV2sbnFG8Ls7e8/MilestoneSaveDevices.png" alt=""><figcaption><p> Save Icon—Milestone Toolbar</p></figcaption></figure>