> For the complete documentation index, see [llms.txt](https://docs.vega365.com/llms.txt). Markdown versions of documentation pages are available by appending `.md` to page URLs; this page is available as [Markdown](https://docs.vega365.com/redundancy-management-framework/user-manual/configuration-dashboard/server-linking.md).
# Server Linking
Pair Primary and Secondary recording servers.
## Introduction
The **Server Linking** step is where you specify which **Primary** recording server will fail over to which **Secondary** recording server.
{% hint style="success" %}
**Note:** This block appears only when **Mode = Auto (Pair Servers, Auto-manage Devices)**. In **Manual (Map Cameras) Mode,** there is no fixed server-to-server pairing, so this block is hidden. Use the [Map Cameras](https://docs.vega365.com/redundancy-management-framework/user-manual/configuration-dashboard/map-cameras.md) page to assign redundancy instead.
{% endhint %}
## Prerequisite
Complete [Mode Selection](https://docs.vega365.com/redundancy-management-framework/user-manual/configuration-dashboard/mode-selection.md)
## Link the Servers
Perform the following steps to link the Primary and Secondary servers.
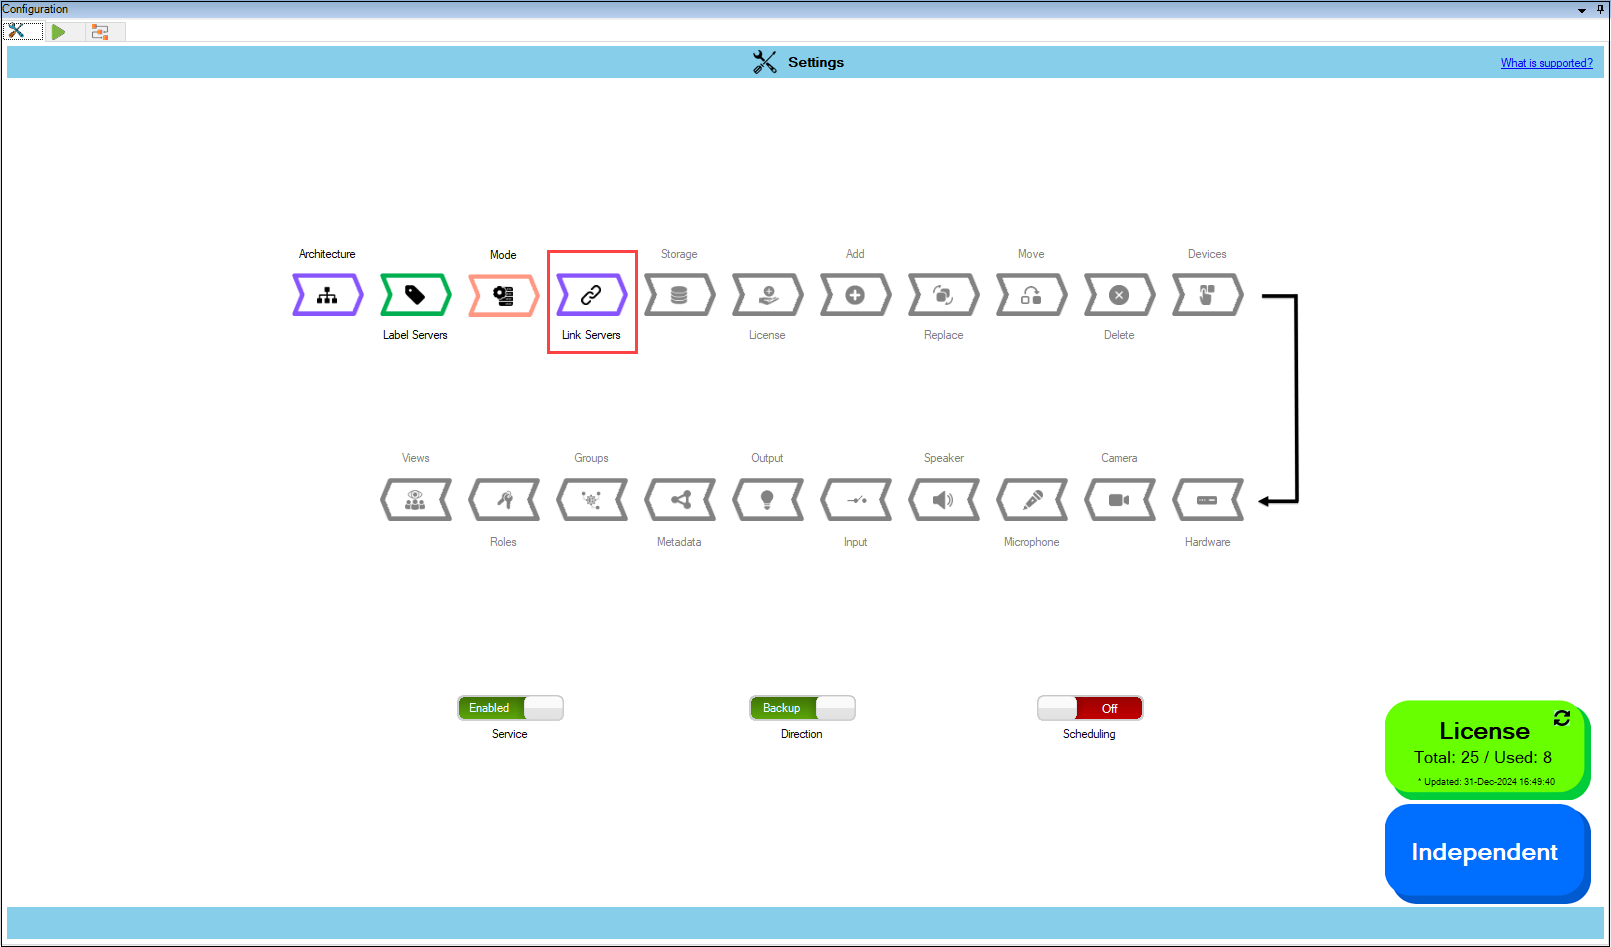
1. Select **Link Servers**.
Link Servers Option
{% hint style="success" %}
**Step Result:** The Data Refresh Tool Dialog box appears.
{% endhint %}
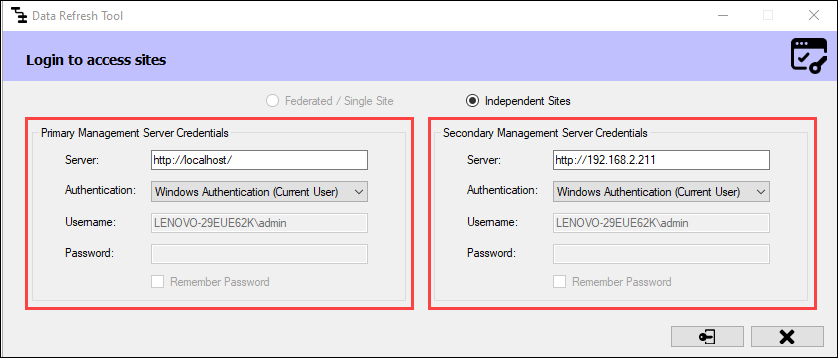
a. For an **Independent** architecture, the following screen appears:
Login Screen—Independent
{% hint style="info" %}
**Note:** You must log in with administrator privileges.
{% endhint %}
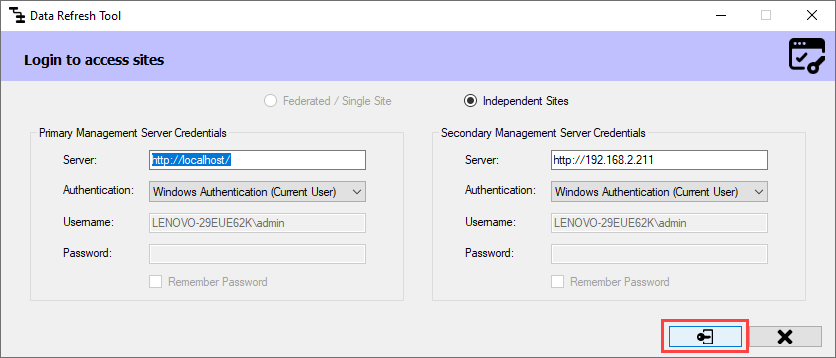
Click **Connect** at the bottom right corner of the screen to continue.
Connect Option—Independent
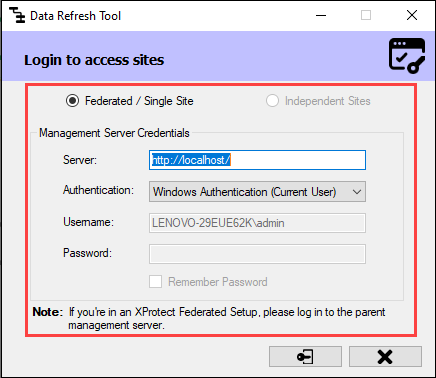
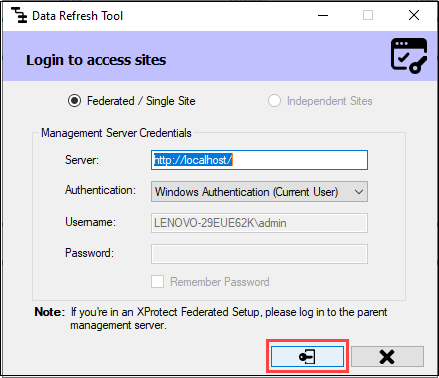
b. For **Federated/Single Site**, the following screen appears:
{% hint style="info" %}
**Note:** If your XProtect architecture is **Federated**, log in to the **Parent Management Server**.
{% endhint %}
Click **Connect** at the bottom right of the screen to continue.
Connect Option—Federated/Single Site
{% hint style="success" %}
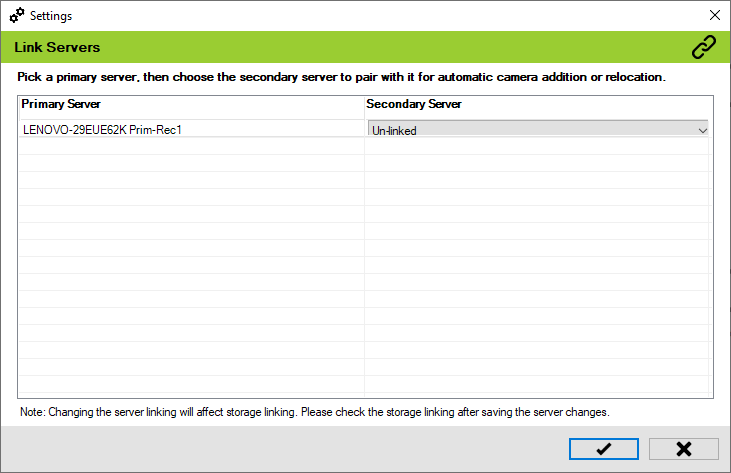
**Step Result:** The Link Servers screen appears.
{% endhint %}
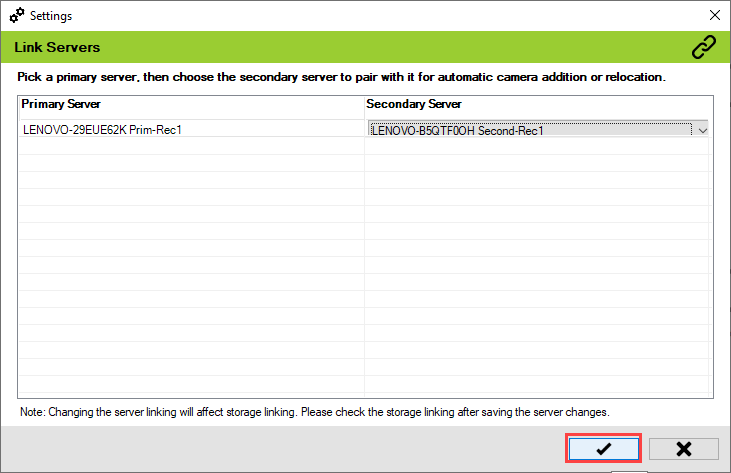
Link Servers Screen
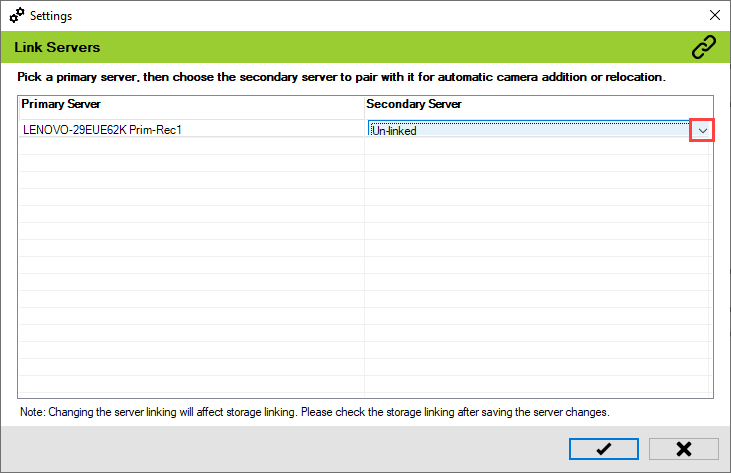
2. Click the **drop-down** under the **Secondary Server** section to view the list of Secondary servers.
Secondary Servers—Drop-down
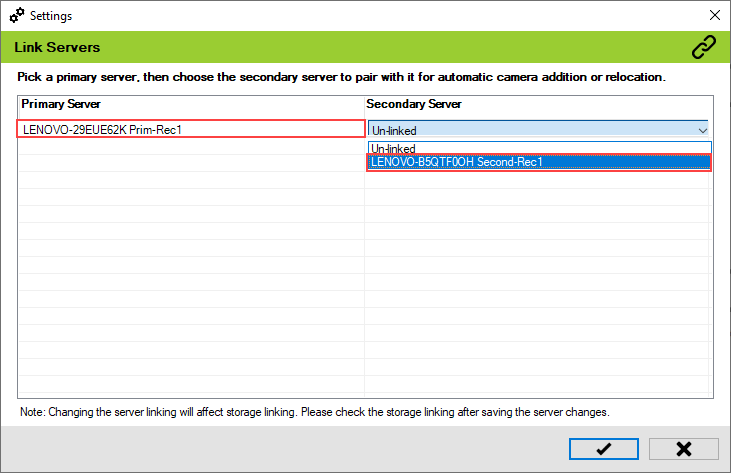
3. Select the Secondary server to link to the relevant Primary server.
Secondary Server Screen
{% hint style="info" %}
**Note:** Storage linking is impacted whenever the Server linking is updated. Verify the storage linking after saving the server changes.
{% endhint %}
{% hint style="success" %}
**Note:** RMF supports **Asymmetric Server Linking**, enabling multiple Primary recording servers to be associated with a single Secondary recording server. RMF automatically synchronizes and updates cameras between Primary servers and linked Secondary servers. See:
{% endhint %}
4. Click the **tick mark** at the bottom of the screen to save the changes.
Save Icon
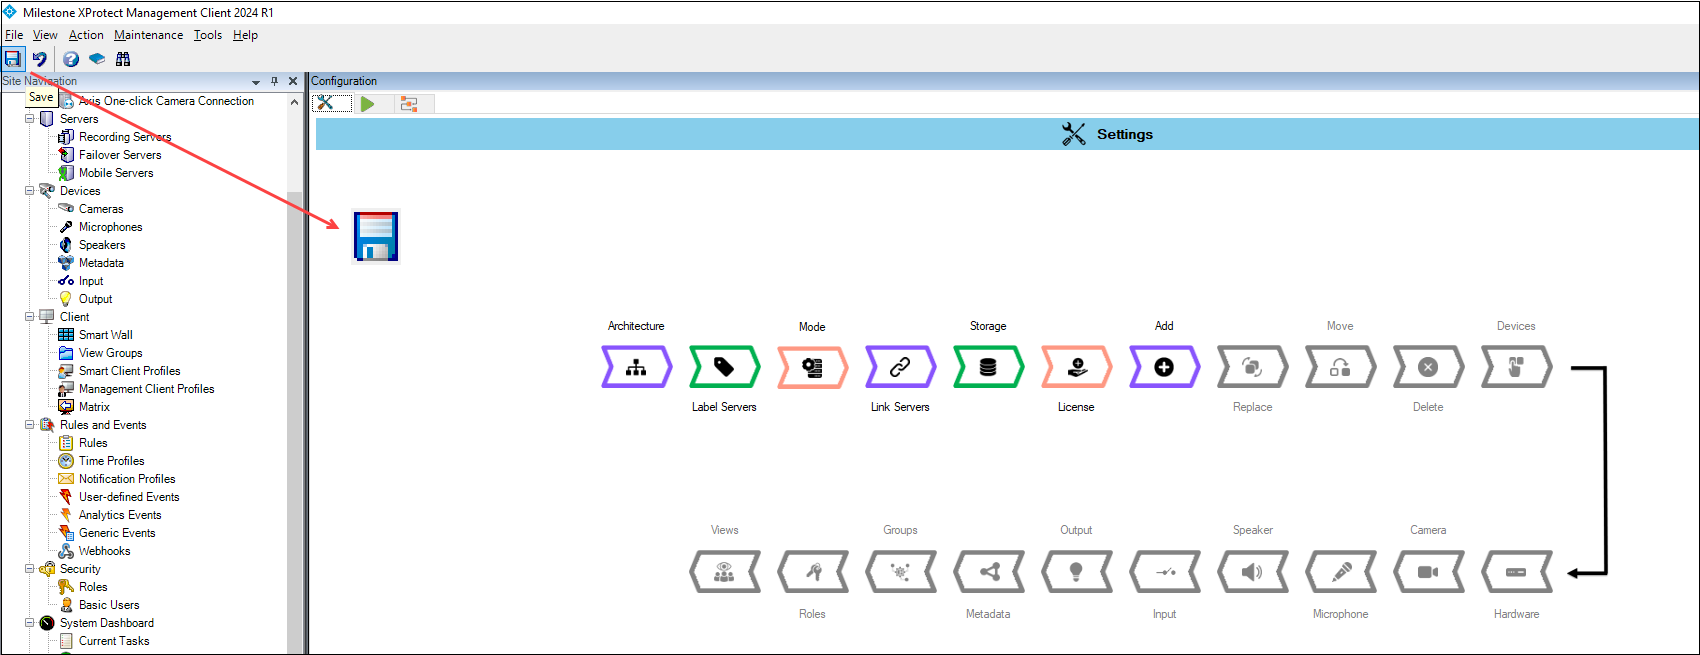
5. Click **Save** in the Milestone toolbar to save the changes.