> For the complete documentation index, see [llms.txt](https://docs.vega365.com/llms.txt). Markdown versions of documentation pages are available by appending `.md` to page URLs; this page is available as [Markdown](https://docs.vega365.com/redundancy-management-framework/user-manual/high-availablity-in-the-smart-client/creating-a-high-availability-view.md).
# Creating a High Availability View
Creating an RMF View
{% hint style="info" %}
RMF's Smart Client features are only available in the [Single Site](https://docs.vega365.com/redundancy-management-framework/user-manual/architecture-options/single-site.md) or [Federated](https://docs.vega365.com/redundancy-management-framework/user-manual/architecture-options/federated.md) modes of operation. Use a PSIM that integrates with the RMF API to achieve such functionality in the [Independent](https://docs.vega365.com/redundancy-management-framework/user-manual/architecture-options/independent.md) mode of operation.
{% endhint %}
{% hint style="danger" %}
With Release 7.5.0, the requirement to create a “special” RMF view in the Smart Client has been removed. RMF now runs in the background within the Smart Client and provides high availability to all native XProtect view windows displaying RMF-licensed cameras.
Skip the steps below if you are using Release 7.5.0 or later.
{% endhint %}
The RMF Smart Sync service automatically generates RMF views that correspond to native Milestone Smart Client views. As the admin makes changes to view layouts for each role, these changes are automatically synchronized into the corresponding RMF views. For more details, refer to [Synchronize ](https://docs.vega25.com/configuration-dashboard/synchronize-views#native-view-to-rmf-view)[Views.](http://views.to)
However, administrators may want to create an RMF view manually for each role and not use native views. The steps below outline this process for administrators.
{% stepper %}
{% step %}
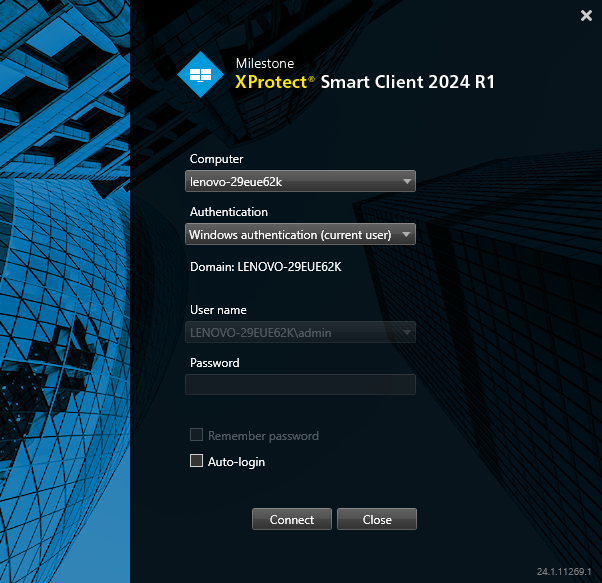
### Log in to the Smart Client.
Log in Page
1. Open the XProtect Smart Client.
2. Log in to the Parent Management Server using domain user credentials (for Federated Deployments) or log in to the sole Management Server (for Single Site Deployments).
{% endstep %}
{% step %}
### Navigate to Create a new Group.
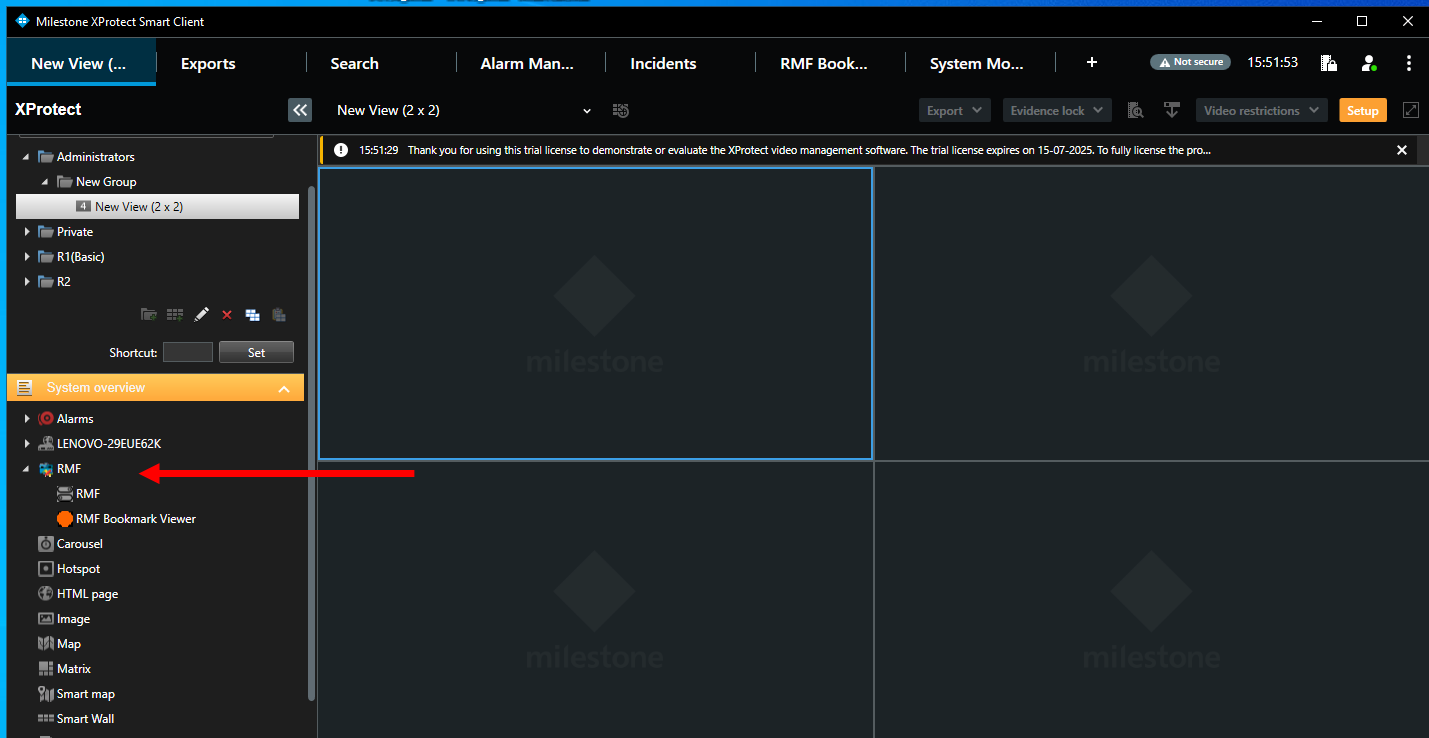
1. Enter Setup mode.
2. Navigate to view the list of folders. Each folder represents a Role.
3. Add a New Group by right-clicking the Role
4. Using the right mouse button (right-click), select **New Group**.
5. Name the Group.
{% endstep %}
{% step %}
### Select a View Layout
1. Choose a layout (for example, 2x2, 3x3, etc.) based on the number of cameras you want to view simultaneously.
{% endstep %}
{% step %}
### Drag/Drop the RMF plugin to each view window
1. Click the **Setup Mode** button on the right of the window.
2. In the left pane, locate the RMF plugin.
3. Drag/Drop the plugin to each view.
{% endstep %}
{% step %}
### Select an RMF-licensed Camera
1. Click the **C** button at the top left corner of each RMF view window.
2. Select an RMF-licensed camera from the list of cameras.
3. Repeat for other windows.
{% endstep %}
{% step %}
### Exit Setup
1. Exit the setup mode to view live, high-availability streams.
2. Repeat the process for other views for all Roles.
{% endstep %}
{% endstepper %}
{% hint style="info" %}
**Federated Deployments**
Note that RMF view windows are created only at the parent site during federated deployments, as we assume the primary set of streams is recorded there. The secondary set is recorded at the child site. For stream-level failover to occur, the logged-in user must have access to both sites, which is only possible with a parent site login.
\
The RMF SmartSync Service also creates a set of native (non-RMF) views at the child site. If the parent site is offline, users can log in directly to the child site and view the same cameras in their familiar views. See[Synchronize Views](https://docs.vega365.com/redundancy-management-framework/user-manual/configuration-dashboard/synchronize-views.md).
{% endhint %}